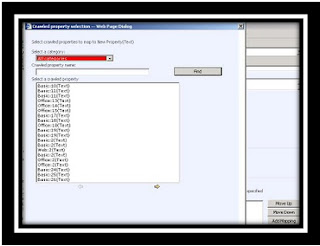
- Go to the central administration -> Shared Services
- Under the Search Menu, click on Search Settings.
- In the Configure Search Settings page, click on Metadata Property Mappings.
- In the Metadata Property Mappings page, click on New Managed Property
- Enter the Property Name and add the crawled properties that you want to add by clicking on the Add mappings button.
- Click OK. Once you have created the new custom managed property,
- Go to the Advanced Search page.
- Click on Site Settings and then on "Edit Page"
- Click on Edit Menu of the Webpart and then Select "Modify Shared Web part"
In the Advanced Search Box Pane, click on the Properties Menu and then select the content in the Properties Text Box. In order that your Managed Properties appears in the Properties lists, you need to make changes in the XML file content.
The XML File in Properties has the following structure:
- Find the string:
<PropertyDef Name="ModifiedBy" DataType="text"
DisplayName="Last Modified By"/>
- Add the following String below it:
<PropertyDef Name="MyProperty" DataType="text" DisplayName="MyProperty"/>
MyProperty denotes the managed property that was created in Search Settings in the Shared Services.
- Find the ResultType node:
<ResultType DisplayName="All Results" Name="default">
- Add the following string below this:
<PropertyRef Name="MyProperty" />
- Now you can click on Apply and OK to close the pane.
- The property "MyProperty" will appear in the Property list box when All Results is selected.
8. Perform a Full Crawl.


No comments:
Post a Comment